Water-to-Air Heat Exchanger with Fan Installation: What to Know Before You Start
Updated: 28-Oct-2026
46
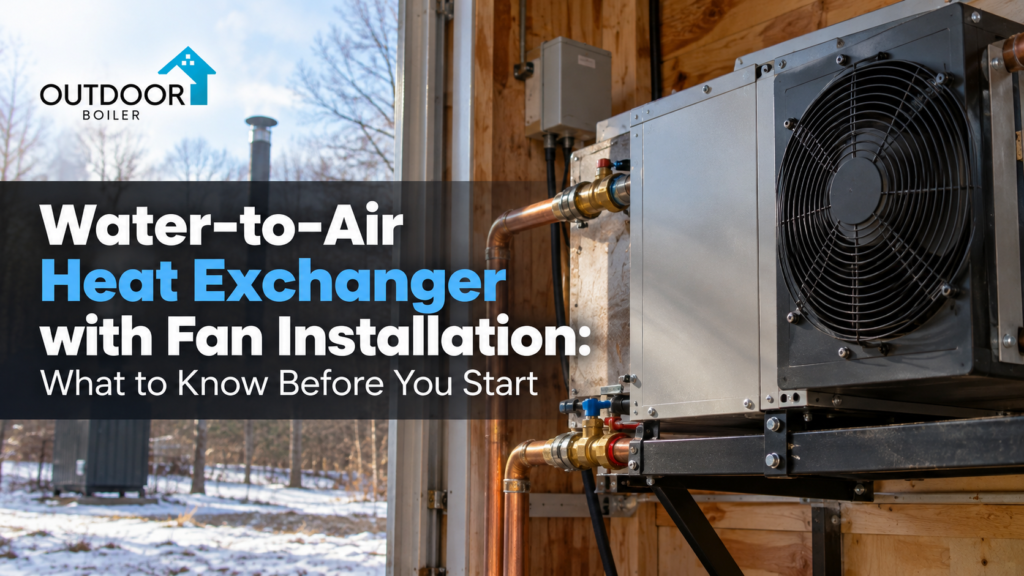
Wondering what a water-to-air heat exchanger with fan installation really involves? In my experience, it comes down to four things: choosing the right location, sizing the unit to your heat source and space, planning the piping and pump, and wiring the fan and controls correctly.
If you are planning to heat a garage, workshop, barn, or a room in your home with hot water from a boiler, this type of unit can be a practical choice. A little planning goes a long way, so let’s walk through what matters most before you pick up a single tool.
What the Unit Actually Does
A water-to-air heat exchanger with a fan is a finned coil that hot water flows through. A fan pushes room air across the coil; the air picks up heat, and warm air moves back into the space. Hot water goes in, warm air comes out, and cooler water returns to your heat source.
The same basic idea shows up in hydronic unit heaters and fan coil units. Hot water coils like these can work with many heat sources, including gas, oil, electric, and wood fired boilers, as well as solar heating systems. You can read more in this hot water coil installation bulletin from Unico.
Start with the Right Location
Where you mount the unit affects how well it heats and how much piping you need. Keep it as close to your hot water source as is practical. Shorter pipe runs mean less heat lost along the way and a smaller load on your pump.
Think about airflow too. The unit needs open space around it so the fan can pull air in and push warm air out freely. Avoid blocking it with shelves, equipment, or stored items. If you are heating a large shop, a higher mounting spot that sends air across the room often works better than aiming it at a single corner.
Also check the mounting surface. These units have real weight, plus water inside the coil, so the wall, ceiling, or frame needs to support it securely.
Match the Size to Your Heat Source and Space
Bigger is not always better. A unit that is too small will struggle on the coldest days, and one that is too large may cycle on and off and waste your boiler’s output.
Before buying, gather a few basic numbers:
- The square footage and ceiling height of the space you want to heat
- How well the building is insulated
- Your boiler’s output and the water temperature it supplies
- The flow rate your pump can deliver
If you are still comparing options, our guide on what to read before you buy a heat exchanger covers several of these points in more detail.
Plan the Water Piping Carefully
Piping is where many installations go wrong, so give it extra attention. Start by checking the connection size on your unit and matching your pipe to it. Many hot water coils use copper connections, but the right material depends on your system and the manufacturer’s instructions.
Here are a few habits that help:
- Insulate every pipe between the heat source and the unit, especially runs through unheated spaces.
- Install shutoff valves on both the supply and return lines so you can service the unit later without draining the whole system.
- Add an air vent at the high point of the coil, because trapped air reduces heat transfer and can cause noisy operation.
- Include a drain point so the coil can be emptied if needed.
- Flush the lines before connecting the unit to clear out solder, debris, and flux.
Pay attention to flow direction as well. Many coils work best when hot water enters at a specific connection, and the unit’s instructions will show which one.
Think About Airflow and Ducting
Some installations blow warm air directly into a room, and others connect to ductwork. If you plan to use ducts, make sure the system does not exceed the static pressure the fan was designed to handle. Long, narrow, or twisting duct runs can cut airflow noticeably.
Filtration matters too. Dust and debris collect on a coil over time and reduce how much heat it can release. A filter on the air intake, along with regular cleaning, keeps performance steady for years.
Wiring, Controls, and Safety
The fan needs power, and most setups also control the pump. A common approach is to use a thermostat to call for heat, which starts the pump and then the fan. Some units also include a water temperature sensor so the fan only runs once the coil is warm enough, which prevents blowing cold air into your space.
Always follow the manufacturer’s wiring diagram and local electrical codes. If you are not comfortable working with electrical connections, bring in a licensed electrician. The same goes for plumbing, since hot water can cause serious burns and leaks can damage a building quickly.
Test Everything Before You Call It Done
Once the unit is mounted and connected, fill the system slowly and bleed the air from the lines and the coil. Check every joint for leaks while the system is cold, then check again once it reaches full temperature.
Turn on the fan and watch how it behaves. Listen for rattling, vibration, or unusual noise. Confirm the thermostat starts and stops the pump and fan as expected. Then let the system run for a while and feel the air coming out. It should be steadily warm, and the return pipe should be noticeably cooler than the supply pipe.
Common Mistakes to Avoid
A few problems show up again and again:
- Skipping pipe insulation, which wastes heat and risks freezing in cold areas
- Forgetting an air vent, which leads to weak heat output
- Choosing a unit based on price alone instead of the real heating load
- Ignoring the manufacturer’s clearance and mounting guidance
- Rushing the leak check
Final Thoughts
A water-to-air heat exchanger with a fan can be a dependable way to move heat from a boiler into the spaces where you need it. The installation itself is not complicated, but the details matter. Location, sizing, piping, airflow, and controls all work together, and getting each one right at the start saves you time and frustration later.
If you have questions about your setup or want to explore your options, visit our website at outdoorboiler.com, browse our heat exchangers collection, or contact our team, and we will be glad to help.
Please Write Your Comments